
You ask Siri on your HomePod to send a text message. Instead, you get a frustrating reply: "I'm not sure who is speaking." Or worse, "You'll need to continue on your personal device."
This is the dreaded HomePod personal requests error. I have been there. It is annoying. The feature is supposed to make life easier, not harder. Personal Requests let you access your messages, reminders, and calendar hands-free.
When it breaks, it feels like your smart speaker is not very smart at all. This guide covers nine fixes that actually work. No fluff. Just practical steps you can take right now.
Why Does the HomePod Personal Requests Error Happen?
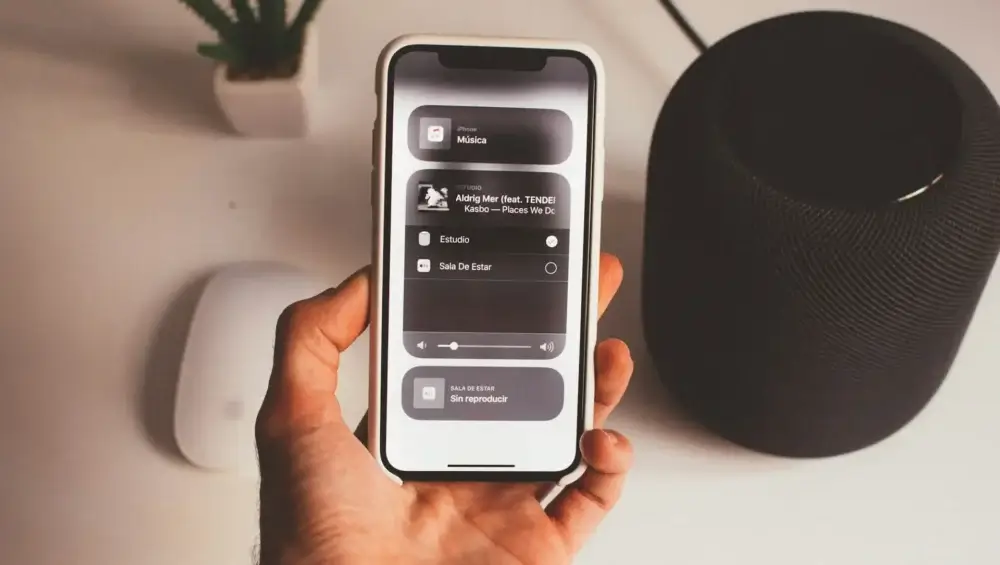
Before you start troubleshooting, you should know why this happens. The most common reason is voice recognition failure. HomePod uses voice recognition to know who is speaking.
Read Also: Does HomePod mini Support Apple Intelligence? Explained
If it cannot figure out who you are, it will not give you access to your personal data. A massive 79.74% of users in a poll said they had experienced this failure .
Other causes include software bugs, incorrect Apple ID settings, and network connectivity problems . It could also be that your iPhone is not on the same Wi-Fi network as your HomePod .
Step 1: Check the Basics in the Home App
This is the first place to look. Open the Home app on your iPhone or iPad. Tap the Home icon at the top, then select Home Settings. Tap your name under People. Here, you will see the option for Personal Requests.
Make sure it is toggled on . You should also check that "Recognize My Voice" is enabled . If it is grayed out, you need to set up Siri on your iPhone first .
Step 2: Verify Your Apple ID and iCloud Settings
Your HomePod and iPhone need to be on the same page. Go to Settings on your iPhone. Tap your name at the top. Scroll down and tap iCloud. Make sure you are signed in.
Next, check that Siri is enabled in iCloud. Look under "Apps Using iCloud" and ensure Siri is toggled on . You also need to have iCloud Keychain enabled. This allows Siri to access your personal information securely.
Step 3: Configure the Find My App
This step is frequently overlooked. Personal Requests require your location to be set correctly. Go to Settings, tap your name, then tap Find My. Ensure that "My Location" is set to "This Device" .
You Must Also Like: How to Reset HomePod Mini in iOS 26: Where is the Reset Button?
If this is not set, the HomePod will not know where to send information. It will often default to the "continue on your personal device" message.
Step 4: Turn Off and On Personal Requests
Sometimes, it is a simple glitch. Toggling the setting can clear it. Go back to the Home app. Navigate to your profile under Home Settings. Tap Personal Requests.
Toggle it off. Wait a few seconds. Toggle it back on. Then try asking Siri a question again. This is a common fix for the "You'll need to continue on your personal device" error .
Step 5: Update Your HomePod Software
Software bugs are a major cause of this issue. In early 2023, a bug caused many Personal Requests to fail . Apple fixed it in a later update. Make sure your HomePod is up to date. Open the Home app.
Tap the Home icon. Select Home Settings. Choose Software Update. Your HomePod will check for updates automatically. If one is available, you will see an "Update" button. Hit it and wait for the installation to complete .
Step 6: Ensure Your Siri Voice Settings Match
This is a less obvious fix, but it has worked for some people. Go to Settings on your iPhone. Scroll to Siri & Search. Check the voice variant you have selected.
Then, in the Home app, check the same setting for your HomePod. Ensure they match. If you are using a different accent on your phone and HomePod, the voice recognition can get confused . It is worth a try.
Step 7: Restart Your iPhone and HomePod
A full restart can clear many minor errors. First, unplug your HomePod from the power outlet. Wait about 10 seconds. Plug it back in . Then, restart your iPhone.
You do this by pressing the side button and volume button until you see the power slider. Slide to turn off. After it turns off, press the side button again to turn it back on. Once both devices are fully restarted, try your request again.
Step 8: Retrain Siri for Your Voice
If the HomePod keeps saying "I'm not sure who is speaking," you may need to retrain the voice recognition. Your iPhone is the source of your voice profile. Go to Settings. Tap Siri & Search. Find the option for "Listen for." Toggle it off.
Wait a few seconds. Toggle it back on. You will be prompted to set up "Hey Siri" again. Follow the on-screen prompts. This forces the system to create a new voice profile for you. It can often resolve recognition failures .
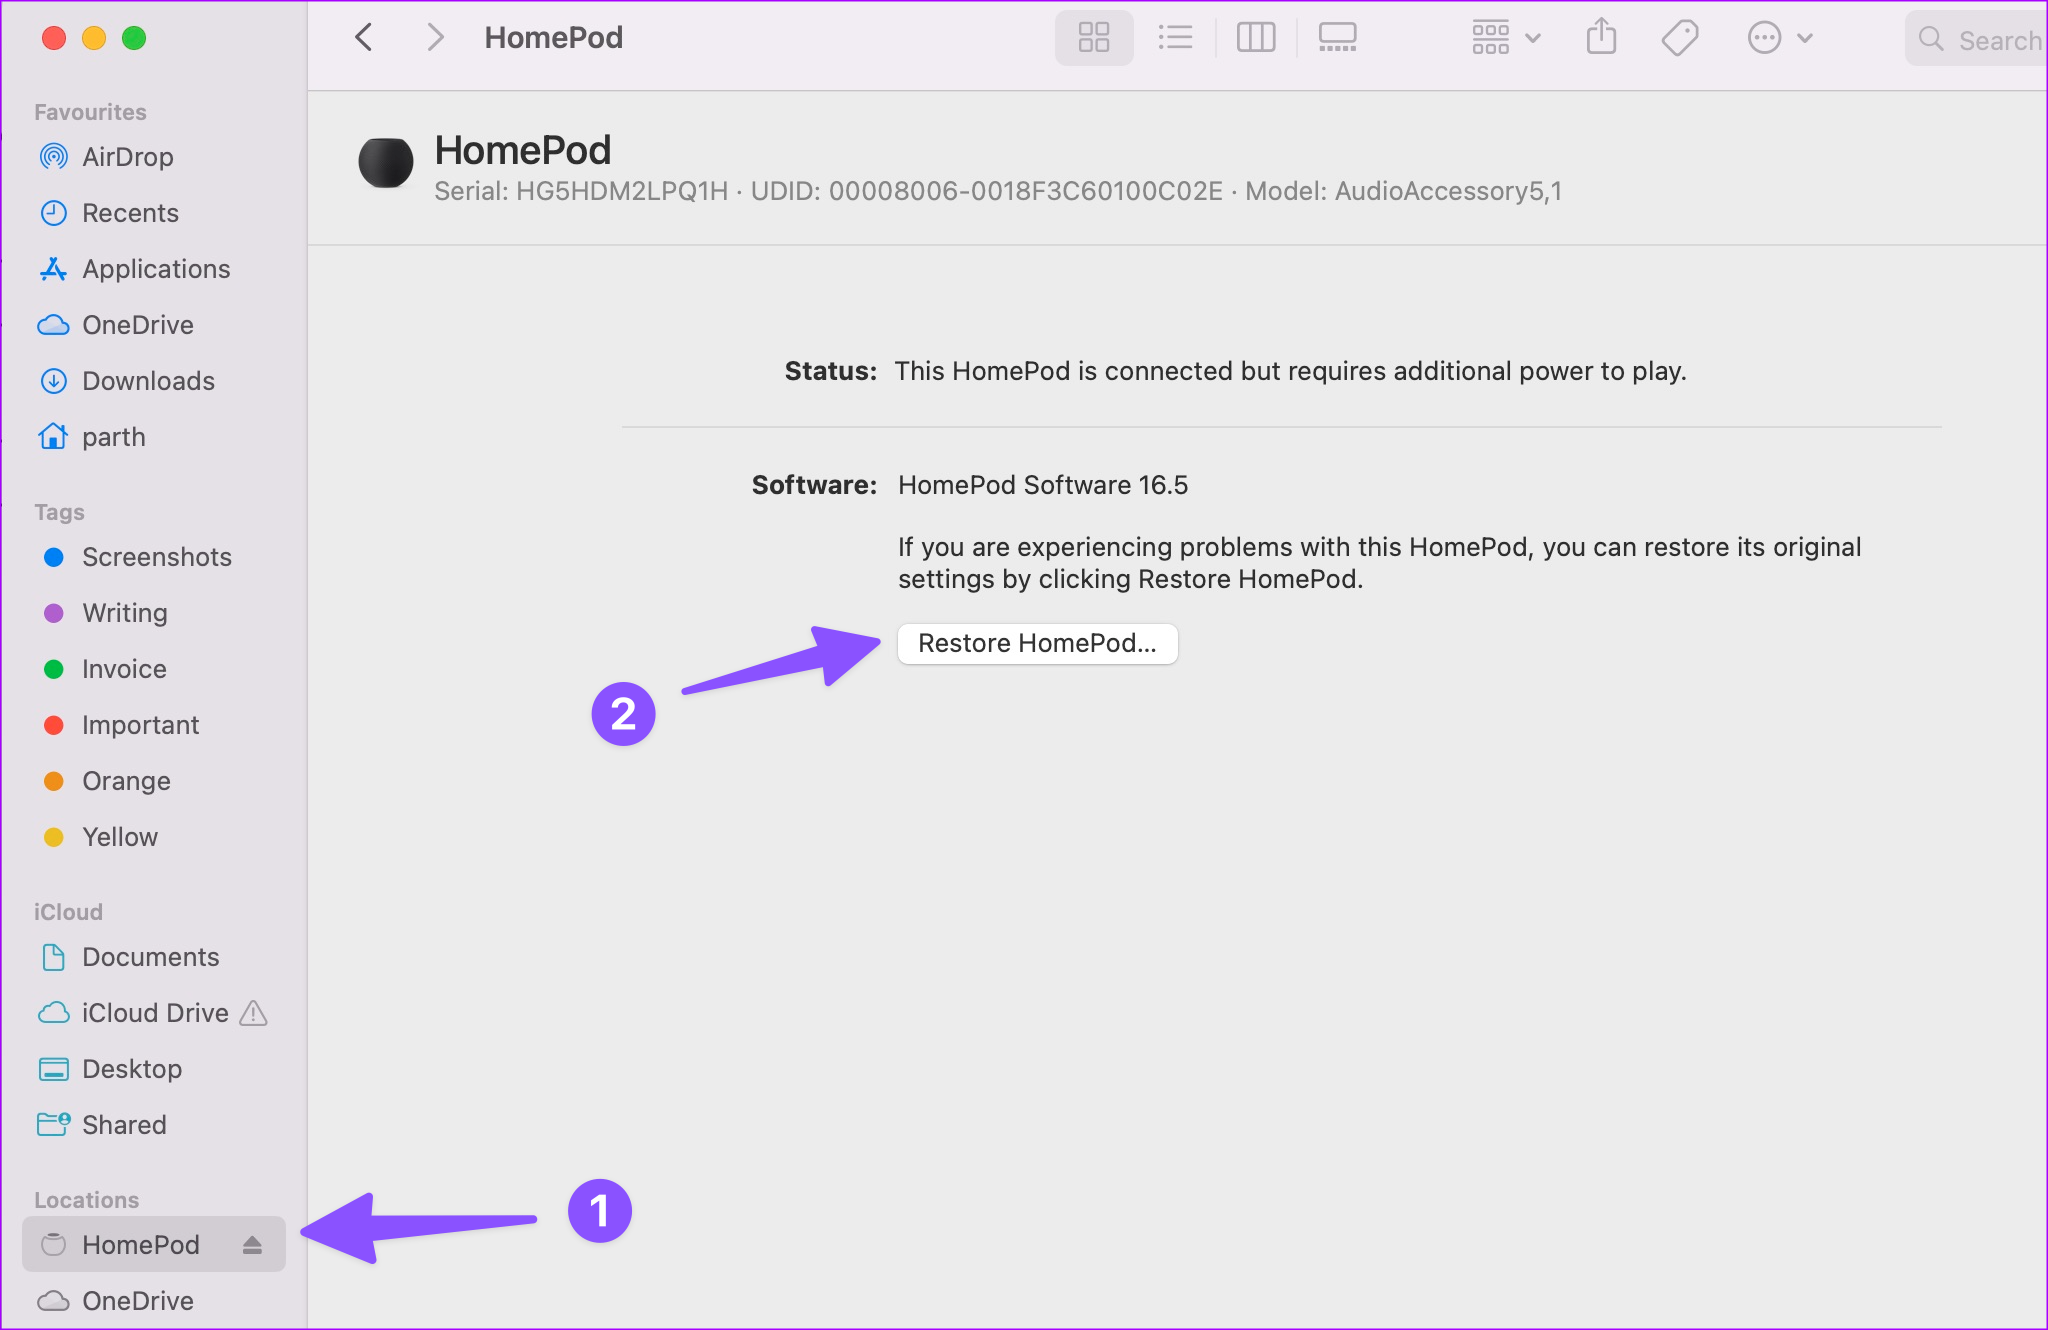
Step 9: Remove and Re-Add the HomePod (Last Resort)
If nothing has worked, this is your final option. This will reset the HomePod to factory settings. It is a bit of a pain, but it works. Unplug the HomePod. Plug it back in. Wait 10 seconds. Then, touch and hold the top of the HomePod.
A white light will turn red. Keep holding. Siri will say the HomePod is about to reset. Release your finger after you hear three beeps . After the reset, you can set it up as a new device. This will clear any corrupted configuration that might be causing the problem.
Final Thoughts
The HomePod personal requests error is frustrating, but it is almost always fixable. Most issues come down to a simple setting that got turned off or a voice profile that needs retraining. I have seen the reset option work when nothing else does.
Start with the basic checks. Verify your Apple ID and iCloud settings. Make sure your devices are on the same network. Nine times out of ten, one of these steps will get things working again. If not, the factory reset is your safety net.
Do not let this error stop you from using one of the HomePod's best features. Personal Requests make life easier. You can send messages, set reminders, and control your smart home without picking up your phone. That convenience is worth the few minutes it takes to troubleshoot.
Try these fixes in order. Test after each step. You will likely find the solution before you reach the last one. And if you do hit the reset option, remember to set up your HomePod fresh. It will feel like a brand new device.