
How to Set Up Personalized Spatial Audio on Your AirPods? Your new AirPods Pro promise incredible sound. But that Spatial Audio option is greyed out. Or you set it up and it doesn't work.
I've been there. It's frustrating. Let me walk you through exactly how to set this up and fix common issues.
What Is Personalized Spatial Audio?
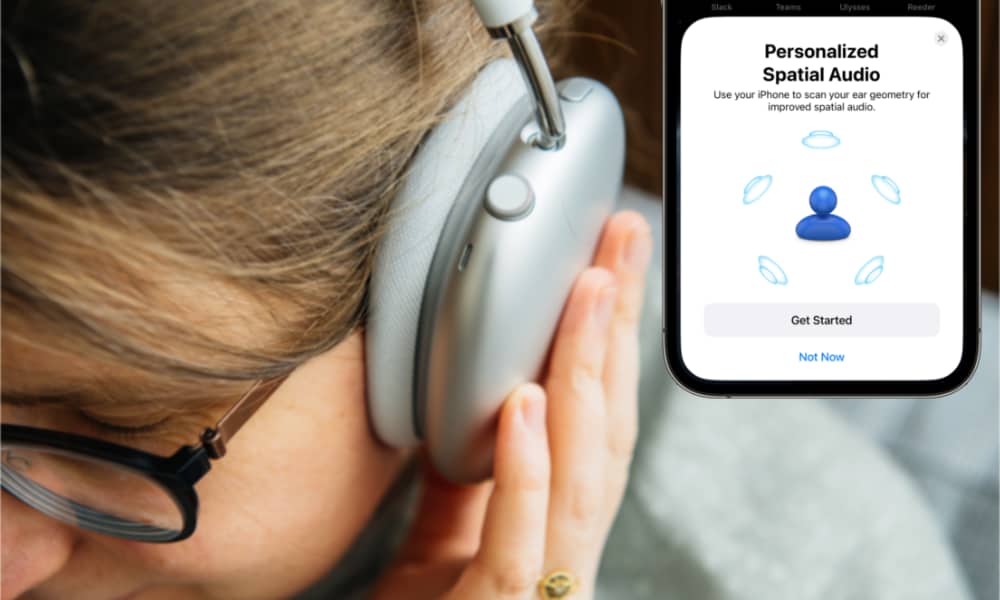
Personalized Spatial Audio uses your iPhone's TrueDepth camera to map your face and ear shape . It creates a personal profile that tunes the sound specifically for you.
Read Also: Apple Hires New Software Lead for HomePod Team
Unlike standard Spatial Audio, this version adapts to your unique head and ear geometry. The result is more accurate directional audio. It feels like sound is coming from all around you.
Apple introduced this with iOS 16. It works across all your Apple devices if you use iCloud.
What You Need for Personalized Spatial Audio?
Before starting, make sure you have these requirements:
An iPhone with iOS 16 or later with a TrueDepth camera (iPhone X or newer).
Compatible AirPods:
-
AirPods Pro (1st, 2nd, or 3rd generation)
-
AirPods Max
-
AirPods (3rd generation or later)
-
Beats Fit Pro, Studio Pro, Solo 4, Powerbeats Pro 2, or Powerbeats Fit
Content from supported apps. Not all apps work with Spatial Audio.
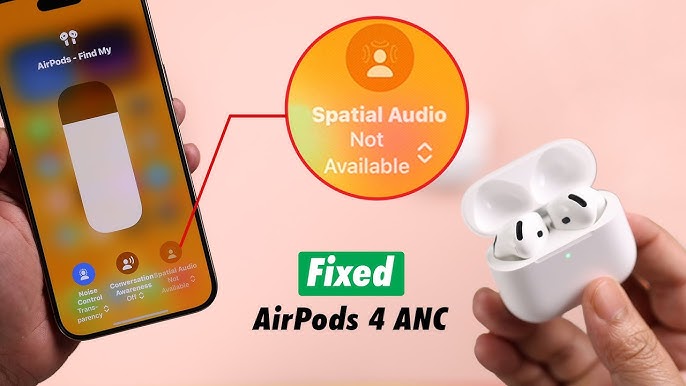
If you don't have these, the option simply won't appear. That's the most common reason for the "Spatial Audio Not available AirPods Pro" error.
How to Set Up Personalized Spatial Audio?
Step 1: Connect your AirPods to your iPhone.
Step 2: Go to Settings > [Your AirPods name].
Step 3: Tap Personalized Spatial Audio > Personalize Spatial Audio.
Step 4: Hold your iPhone about 12 inches (30 cm) in front of you. Position your face in the frame. Slowly move your head in a circle to capture all angles.
You Must Also Like: AirPods Pro 3 Heart Rate: Features, Accuracy And Release
Step 5: Capture your right ear. Hold the iPhone with your right hand. Move your right arm 45 degrees to the right. Slowly turn your head to the left.
Step 6: Capture your left ear. Switch the iPhone to your left hand. Move your left arm 45 degrees to the left. Slowly turn your head to the right.
The process takes about 60 seconds. Audio and visual cues guide you through.
Why Your Custom Profile Matters?
The ear scan is the key. Your ears reflect sound differently. Apple's algorithm uses this data to adjust the audio filter.
Think of it like this. Standard Spatial Audio is a one-size-fits-all jacket. Personalized Spatial Audio is tailored to your body. The difference is noticeable.
Apple processes all camera data on your device. No images are stored. Your profile syncs across devices with end-to-end encryption if you use iCloud.
How to Turn It On and Off?
To turn on: Connect your AirPods. Open Control Center. Long-press the volume slider. Tap Spatial Audio. Choose Head Tracked or Fixed.
To turn off: Go to Settings > [Your AirPods] > Personalized Spatial Audio > Stop Using Personalized Spatial Audio .
Alternatively, toggle it off in Control Center by selecting Off when you long-press the volume slider .
Why Is Spatial Audio Not Available?
This is the most common complaint I see. Here are the real reasons and fixes.
Unsupported headphones. Regular AirPods 1 or 2 don't support Spatial Audio at all. Only Pro, Max, and 3rd-gen models work.
Outdated firmware. Your AirPods need the latest firmware . Place them near your iPhone while charging. Wait 30 minutes. The update happens automatically.
Outdated iOS. Update to the latest version. Settings > General > Software Update.
Automatic Ear Detection interference. This setting can cause issues. Go to Settings > Bluetooth. Tap the "i" next to your AirPods. Toggle Automatic Ear Detection off. Test Spatial Audio again.
Single-channel audio confusion. Check your app is providing multichannel audio. The Control Center will show "Spatial Audio Not Playing" if content is stereo-only.
Mono audio setting is on. Go to Settings > Accessibility > Audio/Visual. Turn off Mono Audio. This setting forces both channels to play the same sound. It completely breaks Spatial Audio.
Check your app. Only apps that support Dolby Atmos or other surround formats can use Spatial Audio . Apple Music with Atmos tracks works well. Most streaming movies work too.
The Final Thoughts
How to Set Up Personalized Spatial Audio on Your AirPods? I've set this up on three AirPods Pro pairs now. The difference is real. Music feels wider. Movies are more immersive. But the setup is fiddly.
The ear scan doesn't always work on the first try. Lighting matters. Face the camera directly. Move slowly. If your scan fails, Apple doesn't give clear error messages. Just try again in better lighting. That usually fixes it.
The bigger issue is the "Spatial Audio Not available AirPods Pro" error. In most cases, outdated firmware or the Mono Audio setting is the culprit. Check these first. They're the easiest fixes.
Is it worth it? Absolutely. Once you hear the difference, you won't go back.